
Description
The HELIOS® user interface is a web application hosted directly on the HELIOS® unit. Accessing it requires a properly configured network connection. Follow the steps below to configure the network and open the interface.
Getting Started
Start by ensuring the network cable is plugged into the LAN connector on the back of HELIOS®.

Use the LCD on the front of the HELIOS® to determine the IP address of that unit.

Make sure the control computer is set up to be on the same network as the HELIOS® (i.e. DHCP/Auto or Static with appropriate subnet/etc.). If everything is set up correctly, just type in the IP address from the LCD display into the URL of the browser. This will open the UI.
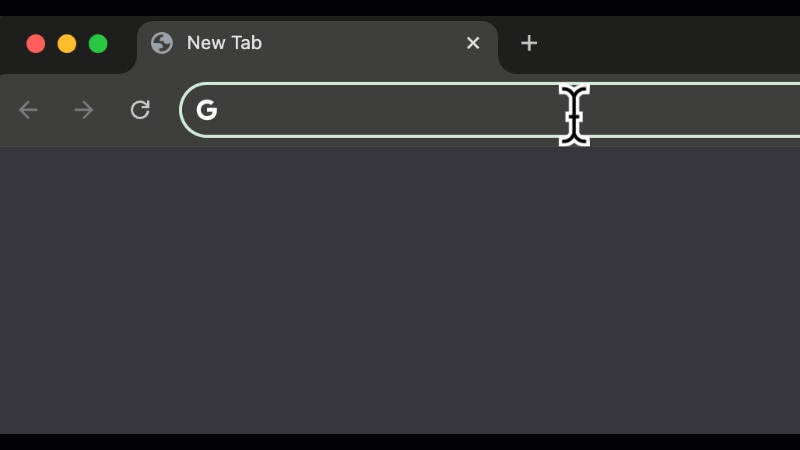
Entering HELIOS® IP address into a web browser URL
Changing HELIOS® network settings
Via the HELIOS® GUI:
DHCP/AUTOIP - Make sure that the HELIOS® is connected to the network via its LAN connector, and then enable "DHCP/AUTOIP Addressing" in the settings. When DHCP is enabled in the UI (see below screenshot), HELIOS® will look for a DHCP server and pull IP addresses from there. If there is no DHCP server available, HELIOS® will assign itself an AutoIP address. The "169.254" addresses are a good indicator that HELIOS® has generated an AutoIP.
Static address - To assign a static address, disable the DHCP toggle in the Networking settings and manually fill out the fields. Note - some settings in HELIOS® requires a proper Router and DNS, so make sure to set them when possible.
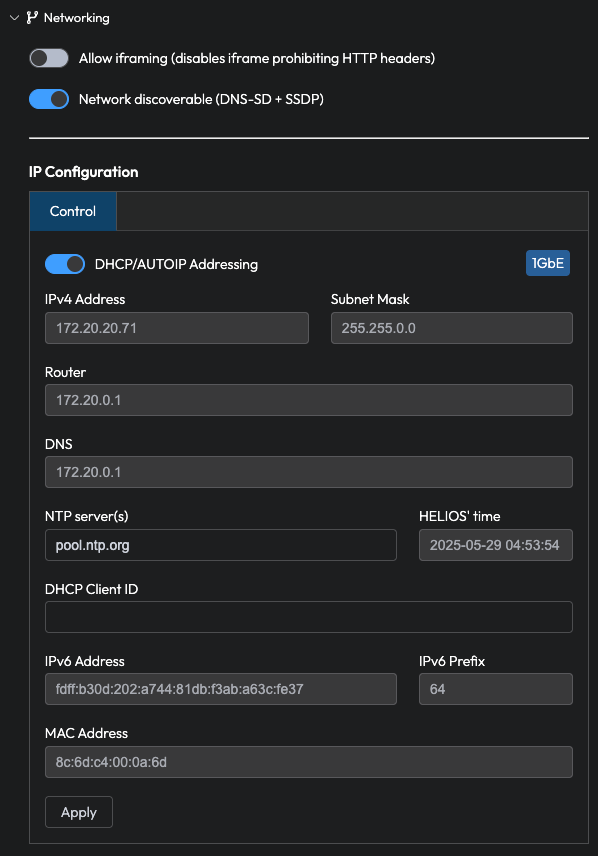
The menu above can be found in Settings -> Networking
Via the HELIOS® Processor LCD display:
Using the LCD encoder, Go Menu > Settings > IP Address and make the desired adjustments to the IP address. Make sure to apply the settings.



